
Accurate measurements are the foundation of every successful renovation or DIY project. One small measuring error can lead to wasted materials, poor fits, and unnecessary costs.
Here’s how to measure rooms properly — and how to make the process faster and easier.
Step 1: Clear the Area
Before measuring, remove or move obstacles like furniture where possible. Clear sightlines allow for more accurate wall-to-wall measurements.
Step 2: Measure Length, Width, and Height
For any room, you should measure:
-
Wall length
-
Room width
-
Ceiling height
Always double-check your measurements, especially for custom installations like cabinets, shelves, or blinds.
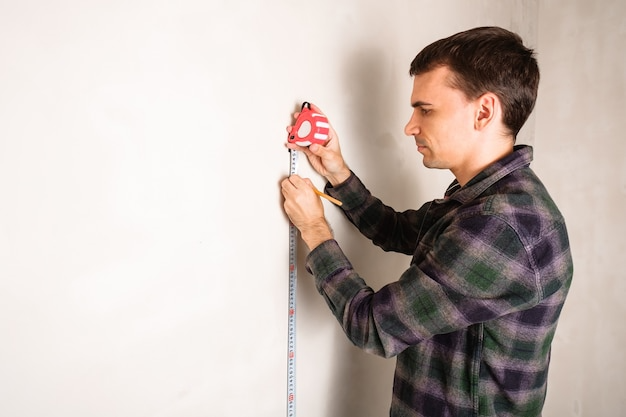
Step 3: Use the Right Tool
Manual tape measures can be difficult for:
-
Long walls
-
High ceilings
-
One-person jobs
A laser tape measure lets you measure from corner to corner or floor to ceiling instantly, without assistance.
Step 4: Measure Multiple Times
Professionals follow the rule: measure twice, cut once. Taking a second reading ensures accuracy and avoids costly mistakes.
Step 5: Record Everything Digitally
Write down or save your measurements immediately. Digital displays reduce reading errors and make it easier to reference later.
Why a Laser Tape Measure Makes a Difference
Tools like MEZZO™ by Metrixo simplify the entire process:
-
One-button laser measurements
-
Clear digital readings
-
Faster room mapping
-
Less physical effort
It’s ideal for homeowners, renovators, and tradies who value precision and efficiency.
Conclusion
Measuring a room accurately doesn’t need to be complicated or time-consuming. With the right approach — and the right tool — you can plan confidently and get better results every time.
Precision isn’t optional. It’s essential.